You can create a new Incident in a number of different ways using one of the following methods:
- Main Toolbar using the "Create Incident" button
- Incidents Panel using the "Create Incident" button
- Map Panel using the "Drop Pin" feature
- Assets Panel using "Create Incident on Asset" feature
Read more about alternative ways to create an incident.
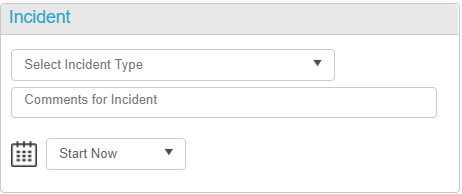
When creating a new incident - the Incident Management panel appears in Draft state (the header is grayed out and most of the buttons are not active).
In order to activate an Incident you must define a Location and an Incident Type.
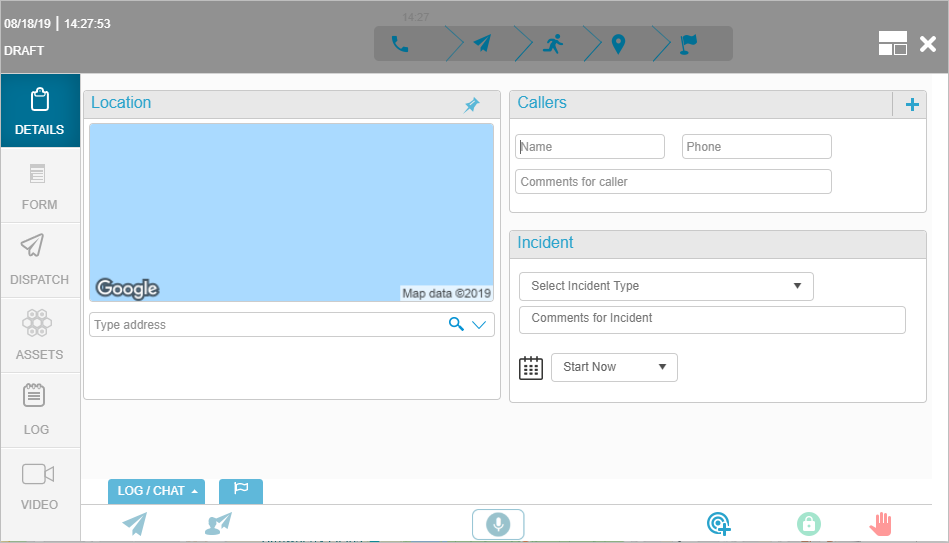
In the Details tab you may enter:
- Caller/Source: Name, phone number and comments - Caller is NOT mandatory
- Location: An Exact Address or Point to Point - Incident location is mandatory
- Incident Type: Incident type and comments - Incident Type is mandatory
The draft incident is given a date and time from the moment you start entering the incident details. This means that you can keep a panel open on screen in anticipation of a new incident being opened, and the incident only receives a date and time when you start using the panel.
An incident becomes Active only when an Incident Type and Location are entered.
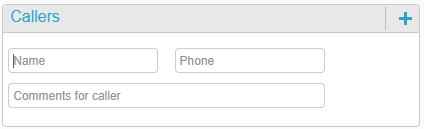
Adding a Caller
Enter the caller name, phone number and comments in the relevant fields.
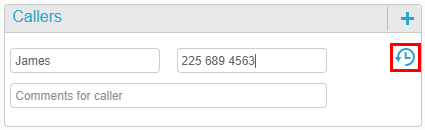
If the Caller details are identified by the system as a Caller in an old incident - the History icon will appear. Click the History button to view previous incidents with the caller's details.
If the Caller details are identified by the system as a Caller in another currently active incident - the Suspected Duplicate icon will appear.
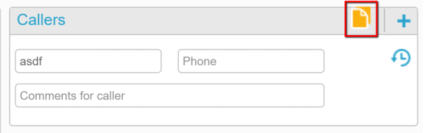
Read more about managing duplicate incidents.
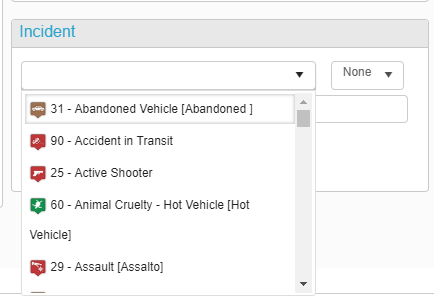
Selecting the Incident Type
Choose an incident type either by clicking on the arrow to open the drop-down list, or by typing first letters in the incident type name, which will auto-complete if incident type exists in system.
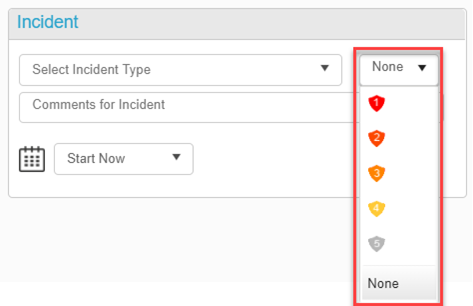
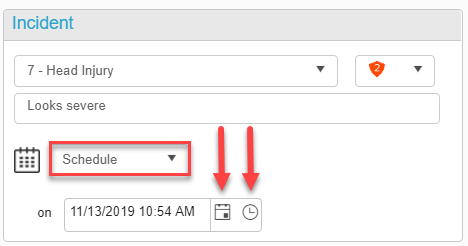
Each incident type has a predefined priority level (1-5) which is displayed adjacent to the incident type name. Dispatchers with appropriate permission have the option to modify the priority level of the incident using the drop-down list.
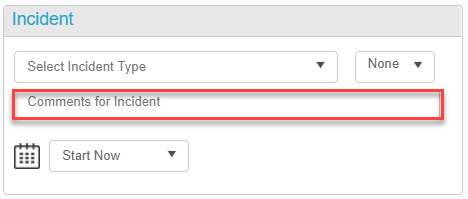
After you have filled in all the relevant details, you have the option to add a textual Comment for the Incident.
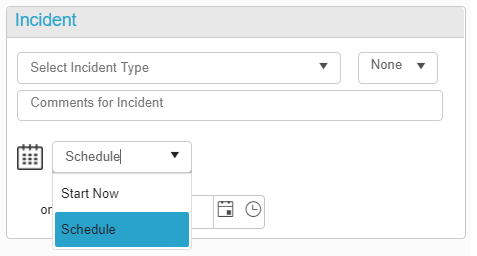
Selecting the Incident Time
The incident start time is defaulted to Start Now. You can set the incident for a future start time by clicking the drop-down and selecting Schedule.
A calendar icon and clock icon appear below. Clicking on these will open calendar and time options.
Future Incidents are Incidents that can be scheduled in advance and once the determined date/time arrives, the Incident is Activated. This state is accompanied with a new time parameter - Incident Activation time which by default is identical to Incident Creation time but the Dispatcher can choose to define a future Activation Time for any incident.
Incident Location Methods
The system provides three methods for defining the incident location:
- Fixed (Exact) - this is the default method.
- Follow (Dynamic) - this method is appropriate for incidents that are constantly changing following the location of a User, Unit or the incident's Reporter
- Pt 2 Pt (Point to Point): Point-to-point assigns two addresses for one incident where the Responder is expected to arrive at one location (origin) and then move onward to another (destination).
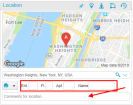
To pick the location method - click the drop-down on the bottom of the map.
Assigning an address for the incident depends on the location method chosen:
- For the Follow method - the location is set by defining which entity (user, unit or asset) is to be followed.
-
For the Exact and Pt 2 Pt methods - there are three types of address types as follows.
- Address - a specific address that is identified and translated to geographic coordinates in the GIS module.
- Road - a location on a highway/road/junction that is identified and translated to geographic coordinates in the GIS module.
- POI - points of interest can be defined in the system by the Admin. When the Dispatcher selects a POI as a location identifier, the system retrieves the POI coordinates from the system and sets them as the incident location.
By default, when a Dispatcher searches for a location - the system will search for all three address types simultaneously. When you chose the address from the auto-complete drop-down list, it is identified as either Address, Road or POI. If you wish to limit the search to only one or two categories - you can click on the down arrow at the right of the location field to select or clear the location types that are relevant to your search.


Incident Location Additional Information
Once the Dispatcher selects the relevant location method and address type - the system is able to positively identify the location in GIS coordinate format. This information is sufficient for the system to target the closest personnel. However, often you might wish to add further information in order to assist the Responders to find the precise location.
The additional information fields are specific to the address type (i.e. address, road, POIs) and can also be configured to tailor your specific needs. The following describes the fields as they exist in the system by default.
-
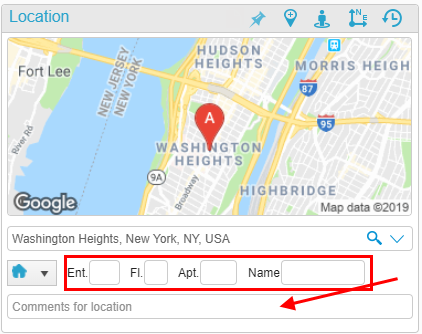
Address
Choose an exact address from the drop-down list that appears when you start typing the address. You can then add additional information such as the entrance, floor and apartment numbers, the name on the front door, and any other additional comments.
-
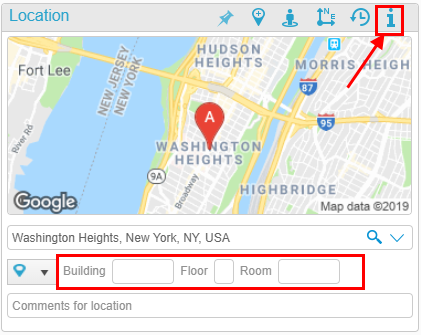
POI
Type in the first letters of a POI name and select it from the dropdown list. Once the POI is recognized, you can add additional information, such as building name and floor, and any other additional comments.

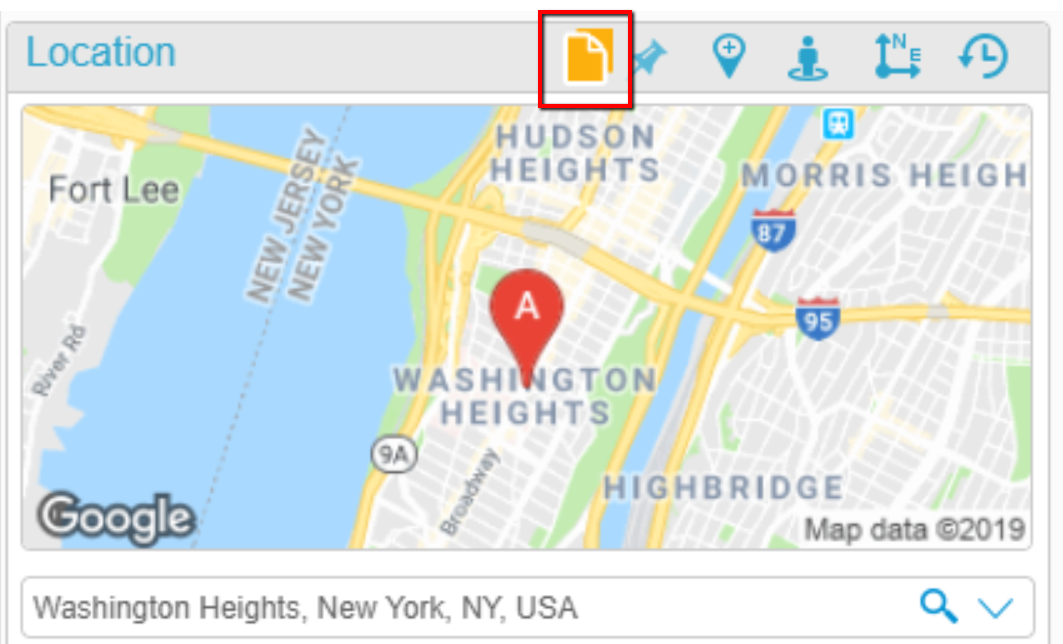
Click the POI Notes icon to open a popup with the additional notes for the selected POI.
-
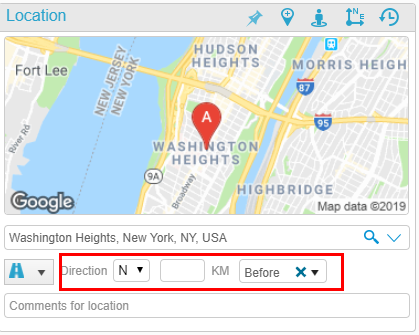
Road
Type the name of the road and then choose a road from the dropdown list that appears when you start typing the road name. You can add additional information such as the direction, and proximity to landmarks or junctions, and any other additional comments.
On some occasions, you might have an address that is identified by the system as one address type (ex. POI) but you would like to use the additional information fields that are associated with another address type (ex. road). To change the default location type recognized by system, use the dropdown list to the left of the additional information fields.

Additional Map Functions
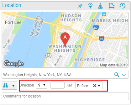
Once the location is recognized as a valid location, the map centers to the location and the map options appear.
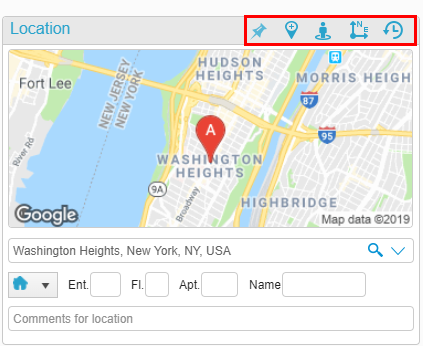
With these options you will be able to perform the following functions:
- Pin: Pin the map to the set incident location.

- Center Map: Center the Map Panel to the location.

- Street View: Open the location in street view (where applicable).

- Coordinates: View the location coordinates.

- History: View incident history for the address (if available).

Suspected Duplicate Incidents
If the Location coordinates are identified by the system to be in proximity of both distance and time to another currently active incident - the SUSPECTED DUPLICATE icon will appear. Click on the duplicate icon to view the details of the similar incidents.
Read more about managing duplicate incidents.
What's Next?
As you have finished to enter the Incident's basic details (Caller/Source, Location, Incident Type) - the incident becomes active and all the action buttons are clickable. You can now perform the following actions:
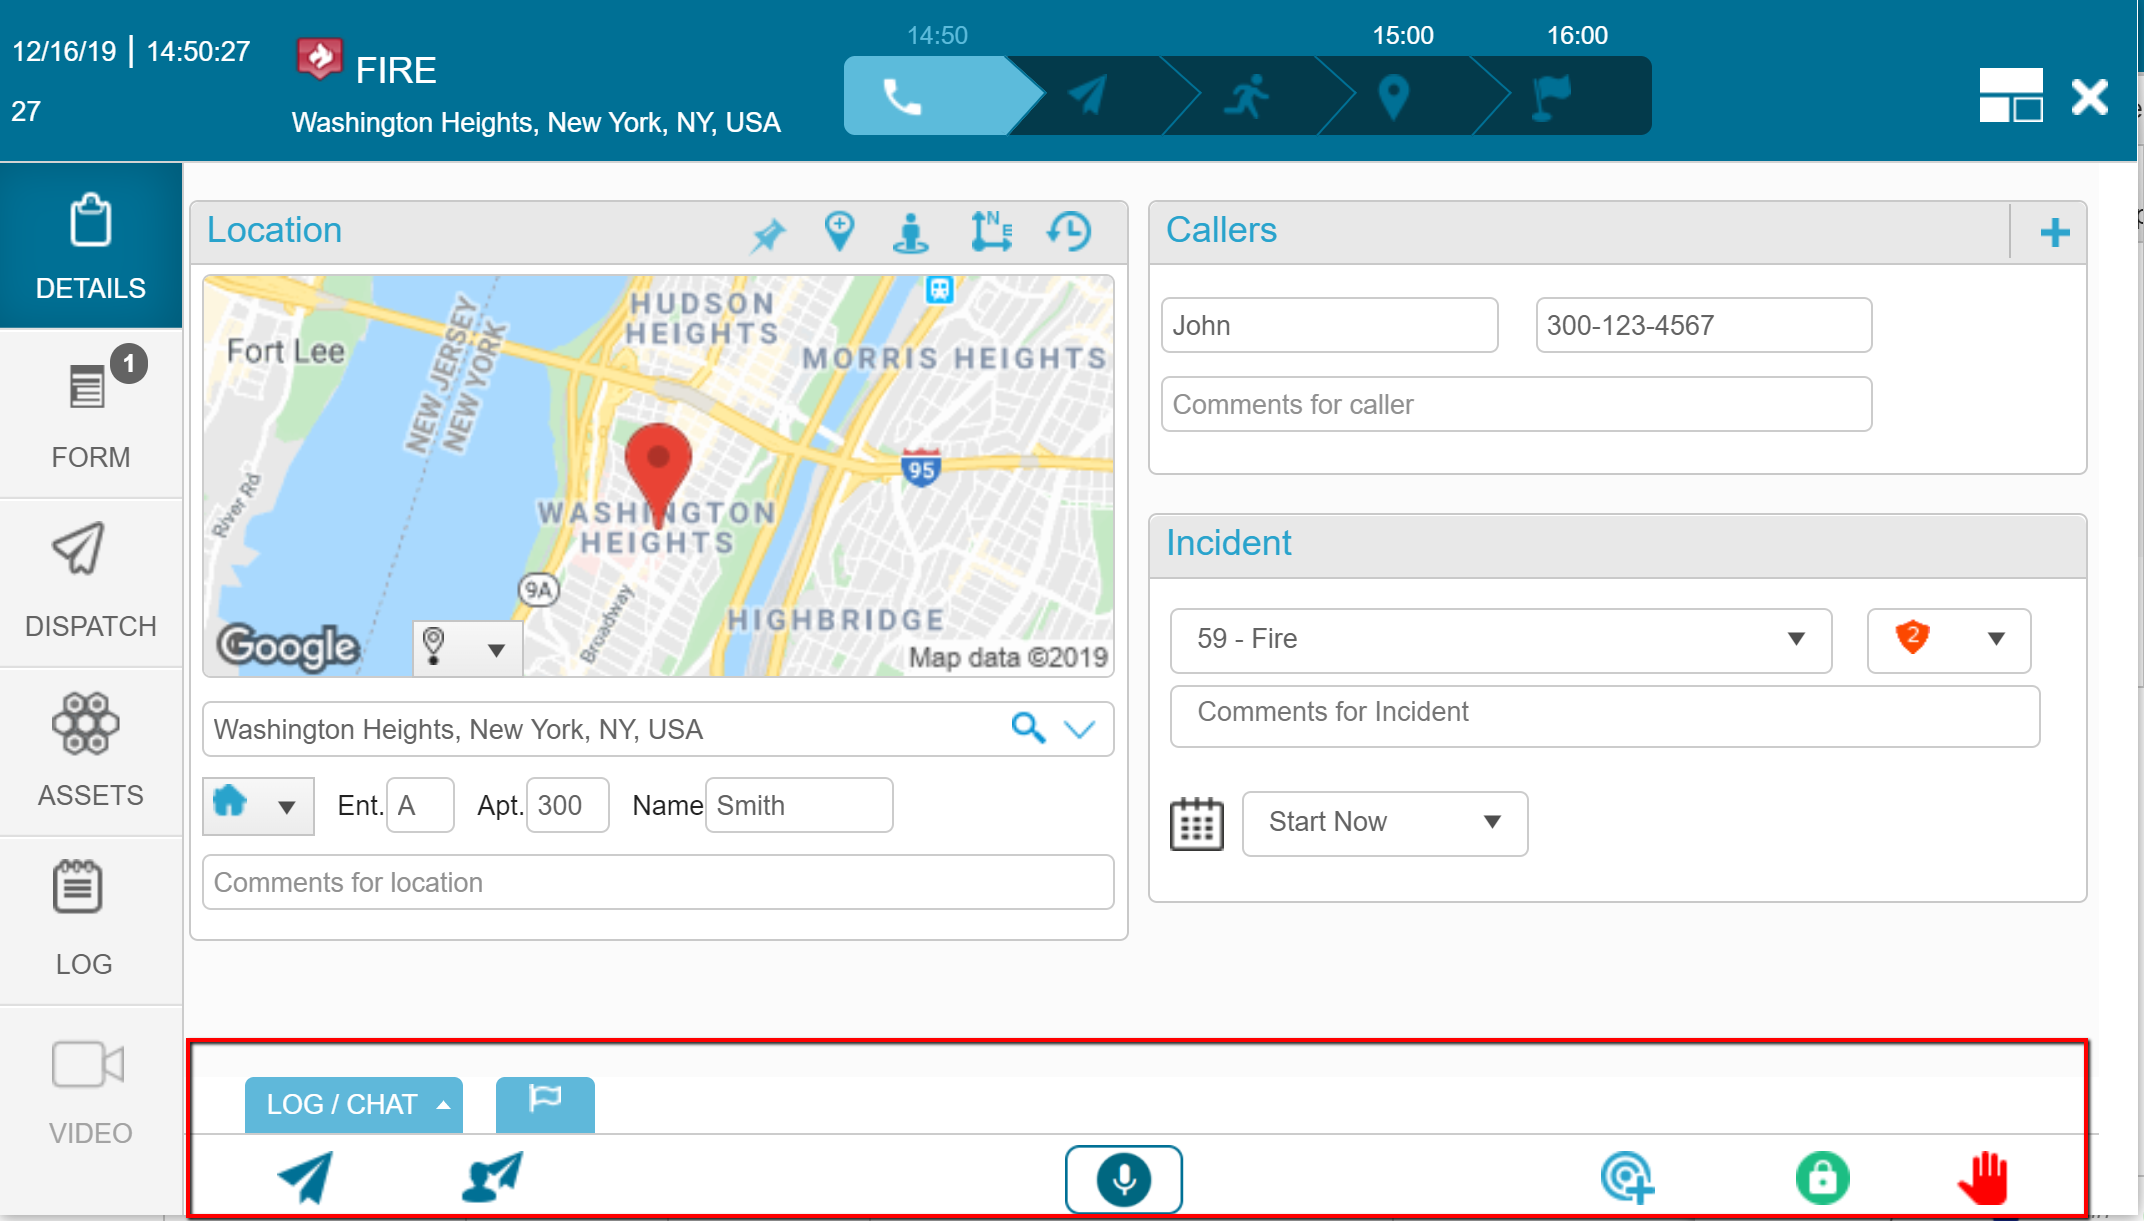
- Log/Chat - click on log button to open a log entry panel. You can chose whether the text will only be saved to the incident log or also sent to all responders in the incident.
- Situation report - click on the flag button to select and send situation reports. The list of reports is predefined by the Admin for each Incident Type.
- Auto Dispatch: Click on the Activate auto-dispatch engine icon to activate the auto dispatch protocol for the selected incident type.
-
Manual Dispatch: Click on the Manual Dispatch icon to manually dispatch resources to the incident.

- PTT Channels: Click on the PTT (push to talk) button to create a dedicated audio channel for this incident. NOTE: PTT is an add-on feature.
- New/Close/Cancel Incident: At all stages of the process you can clear the incident manager panel and create a new incident by clicking the New Incident icon, or canceling or closing the incident you are currently working on by clicking on the Close Incident or Cancel Incident icons all of which can be found on the bottom right of the panel.

Note: If the incident has active responders, they are notified that the incident is now closed or cancelled.

Finally, at the left side of the panel there are more tabs - each tab includes other incident management features. For further details on each tab refer to the following articles:
