Auto Dispatching Rules
This topic explains how to auto dispatch responders and how to add additional resources to an incident
Auto Dispatch enables dispatch operators to automatically dispatch responders to an incident by activating the auto-dispatch rules for the selected incident type. The default auto-dispatch protocols, or incident rules, are predefined in the Incident Settings (read more about incident typesManaging Incident Types.) You can modify these rules for individual incidents in the Dispatch tab of the Incident window.
Auto Dispatching Incidents
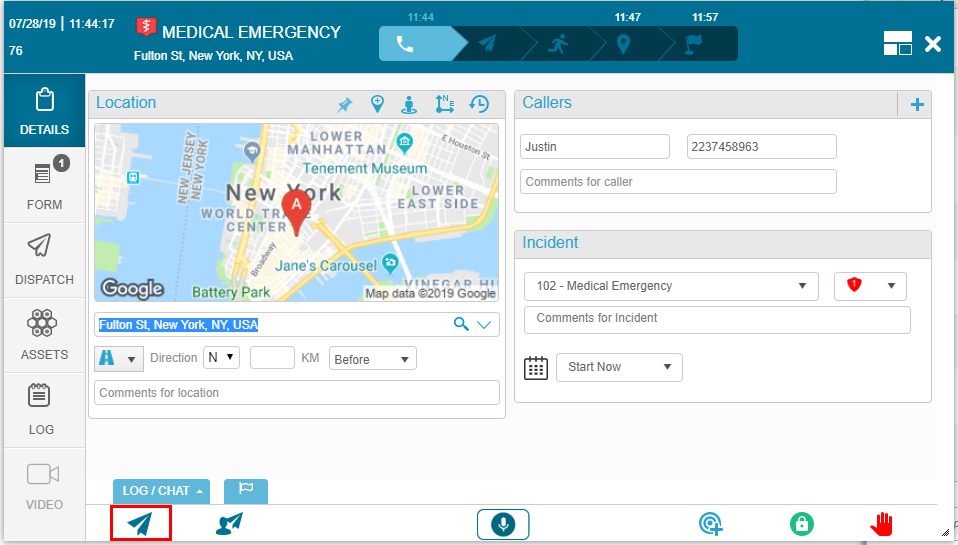
After you create an incident, click the Auto Dispatch icon at the bottom of the Incident Panel and the auto-dispatch engine will be activated. Read more about creating incidents here.
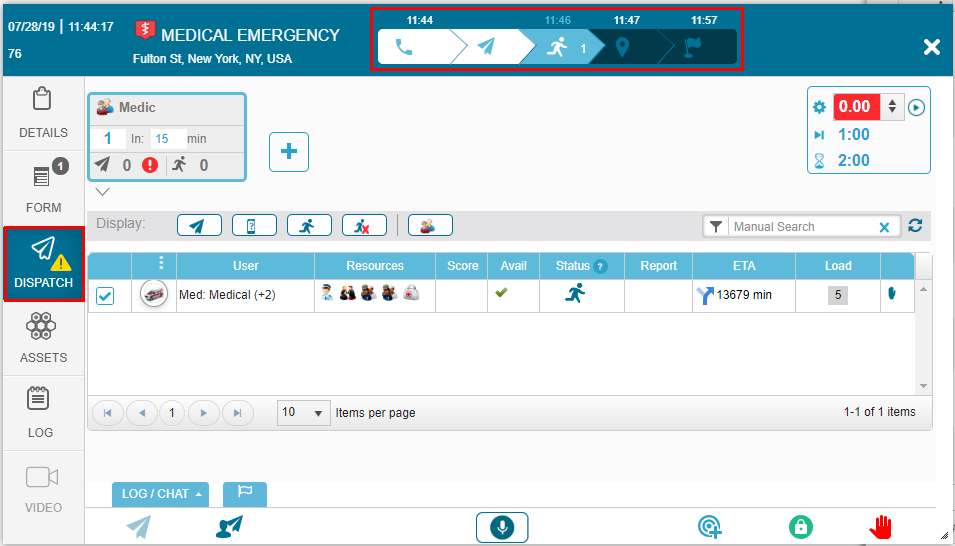
You can confirm that responders have been dispatched by:
-
Monitoring the Incident progress bar at the top of the Incident window.
-
Clicking the Dispatch tab on the side of the Incident window.

Required Resources
The Required Resource area shows the resources defined in the Auto Dispatch protocol determined for each incident type. (For information on how to define incident dispatch rules, see Adding and Modifying Incident Dispatch Rules.) The predefined Required Resources are shown in the Dispatch tab.

You can modify the predefined required resources and also add additional resources if required. It is important to note that any changes made to the required resources affect only the incident at hand and do not affect the predefined required resources defined for this type of incident.
Modifying the Required Resources
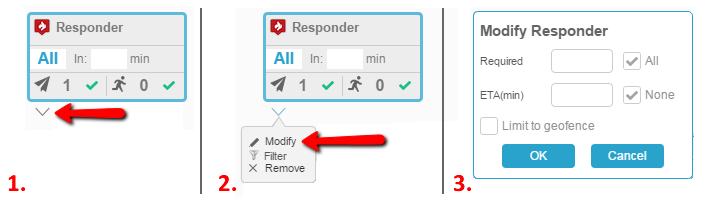
You can modify the Required Resources for the incident, by clicking the down-arrow below the defined resource, and selecting Modify from the pop-up menu that appears.
To modify the resource:
- Click the arrow below the Required Resource box. A menu opens below the Required Resource box.
- Click Modify to change the requirements.
-
A popup window appears enabling you to modify the requirements for the resource. You cannot modify the resource itself, but can modify quantity and ETA of the resource.
-
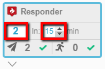
Modify the quantity of required resource by clicking in the Quantity field and entering the new quantity required.
-
Modify the required ETA using the up and down arrows to increase or decrease the required ETA.
-
Adding an Additional Required Resource
You can add additional resources to an active incident's Auto Dispatch protocol. These additional resources are incident specific and do not alter the default Auto Dispatch protocol, or incident rules, for the incident type.
An example of when you (as the dispatch operator) may need to add an additional resource to an incident is as follows. The default dispatch for a Medical Emergency is all Medics. If the caller reports that the victim appears to have been assaulted, it would be necessary to dispatch a Police officer to the scene to investigate the matter.
To add an additional resource:
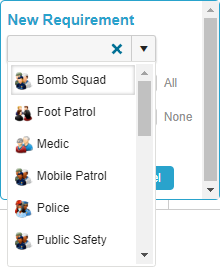
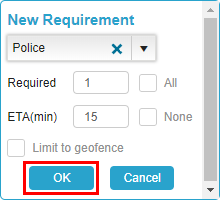
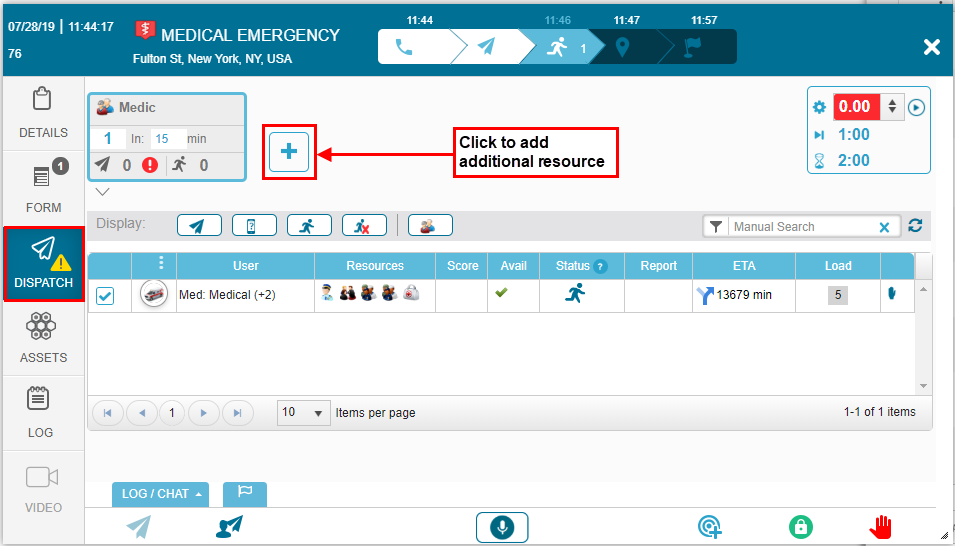
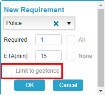
- Click + Add Required Resource to add a new resource. The New Requirement pop-up window opens.
-
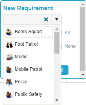
From the New Requirement dropdown list, select the new required resource.
-
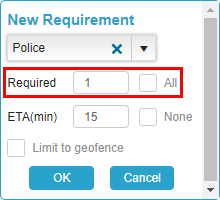
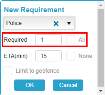
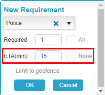
Enter the quantity of the resources required or click All.
-
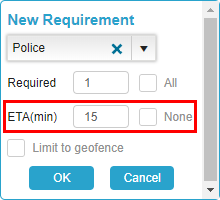
Where applicable, enter dispatch limitations such as response ETA, or click None.
-
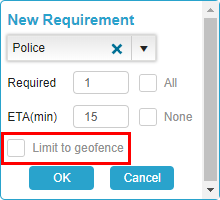
(Optional) Select Limit geofence if the dispatched resource must be local (i.e., associated to the geofence where the incident is located).
-
Click OK to add the additional resource to the Auto Dispatch protocol for this incident.
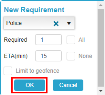
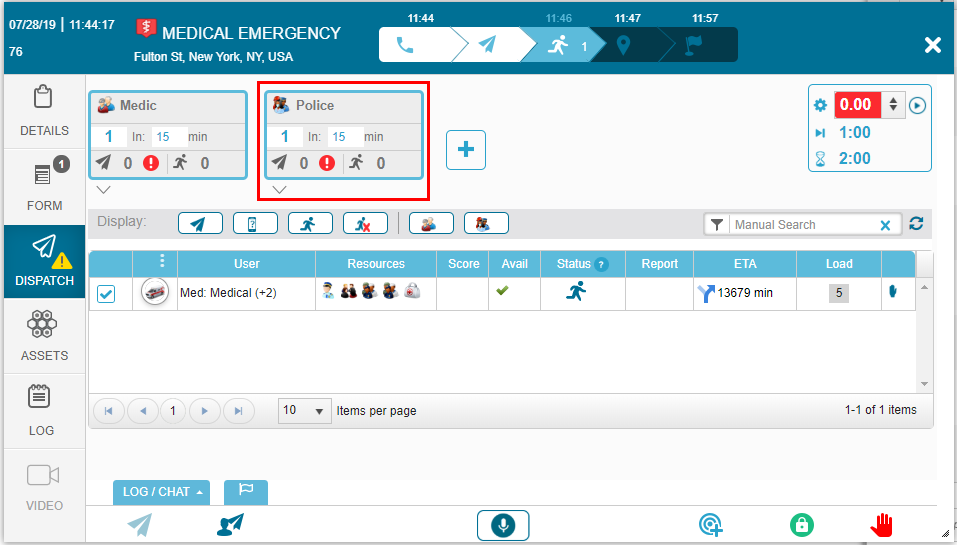
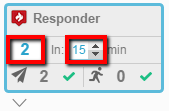
The additional resource now appears in the Dispatch tab.

-
-
If you have not already done so, click Auto Dispatch to activate the dispatch engine.