Using the Forms Tab
The incident's Forms tab in the NowForce Mobile App enables you to share and document pertinent incident information with the dispatch operator. Incident forms vary in design and function; from Read Only forms to elaborate forms that include dynamic and editable fields on both ends (dispatcher operators and responders).
Forms can be created and customized by users with the necessary permissions for each incident type.
Tap Form in the Incident menu to open the incident's form.
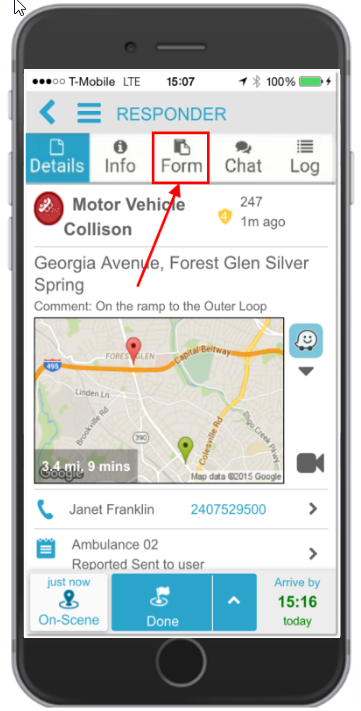
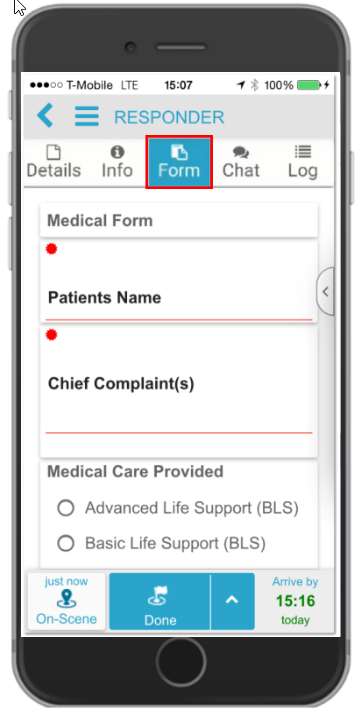
The Form tab opens showing the custom form assigned to the incident.
Form Options Menu
The Form Options menu enables you to scroll through the form and find fields quickly and easily. The menu also enables you to change the view mode of the form and also zoom in and out of the form.
Tap the arrow on the right side of the form to open the Form Options menu.
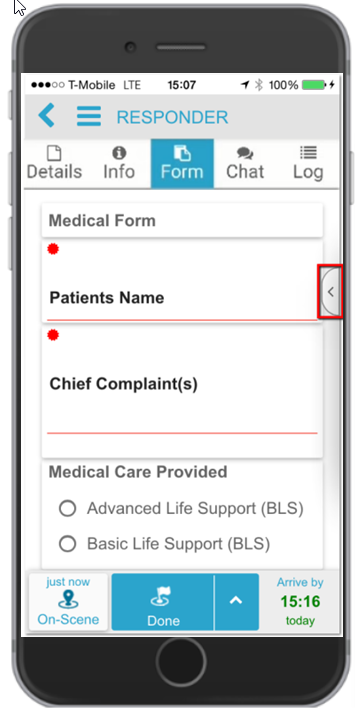
The Form Options menu opens on the right.
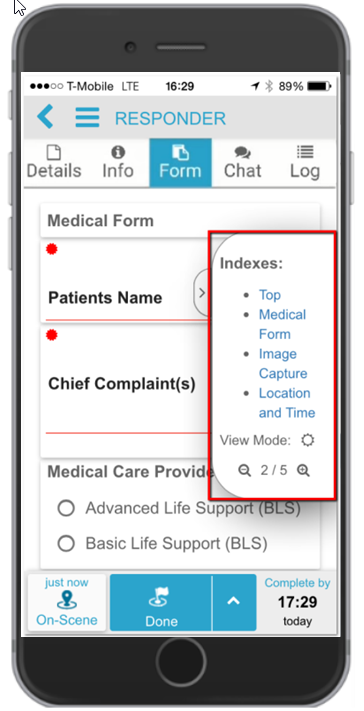
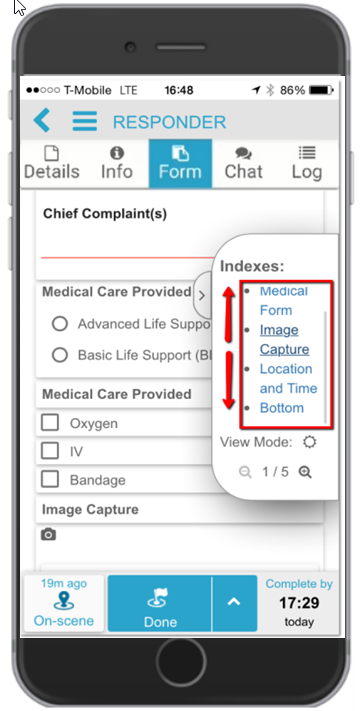
Form Index
When an incident form is designed it is divided into sections. These sections are listed in the Form Options menu under Indexes. You can scroll through the index to find the required section. When you find the section you want, tap on the section heading, and the form jumps to its location.
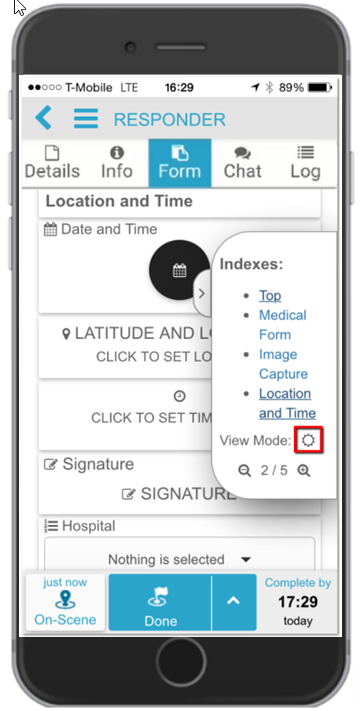
Form View Mode
View mode enables you to switch your screen between day and night display mode. Tap the View icon to change the default day mode to night mode.
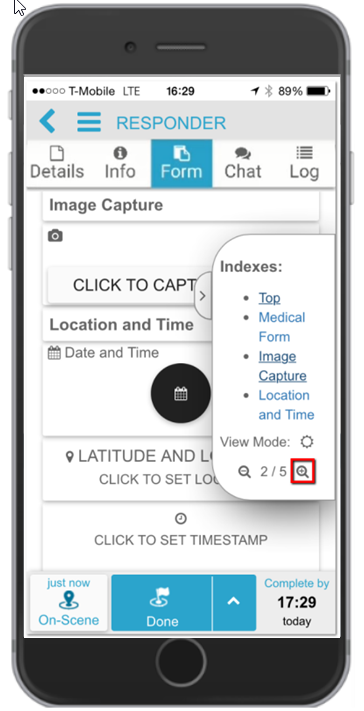
Zooming the Form
You can zoom in and out of the form. There are 5 zoom levels, with level 1 being the smallest display.
To increase the form size, tap the + Magnifying Glass icon. You can increase the zoom further by tapping the + Magnifying Glass again. Each time you tap the + Magnifying Glass, the zoom level increases until you reach the maximum zoom level of 5.
To decrease the form size, tap the - Magnifying Glass icon. You can decrease the zoom further by tapping the - Magnifying Glass again. Each time you tap the - Magnifying Glass, the zoom level decreases until you reach the minimum zoom level of 1.
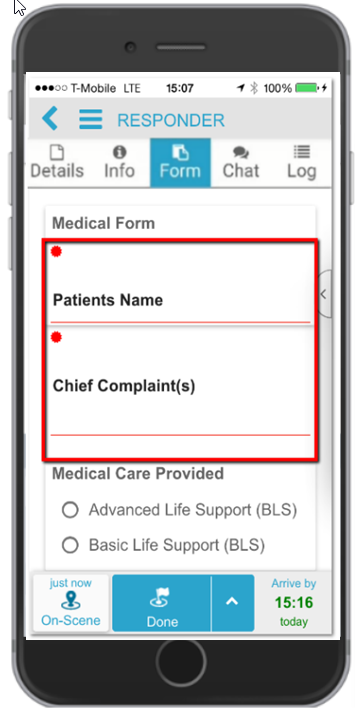
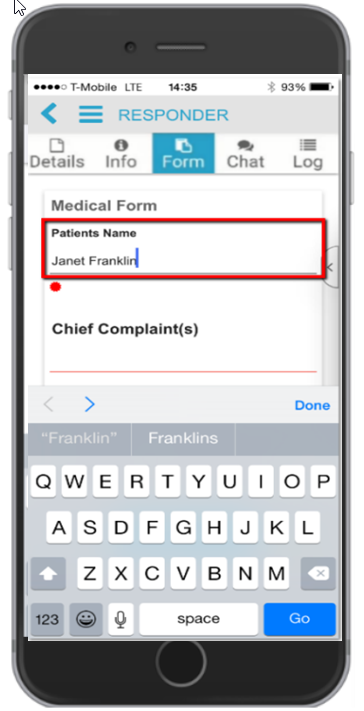
Mandatory Form Fields
Incident forms may contain mandatory fields. Mandatory fields are underlined in red and also have a red icon in the top left corner of the field.
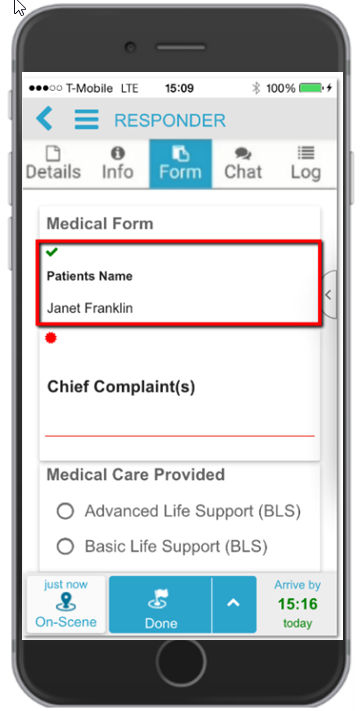
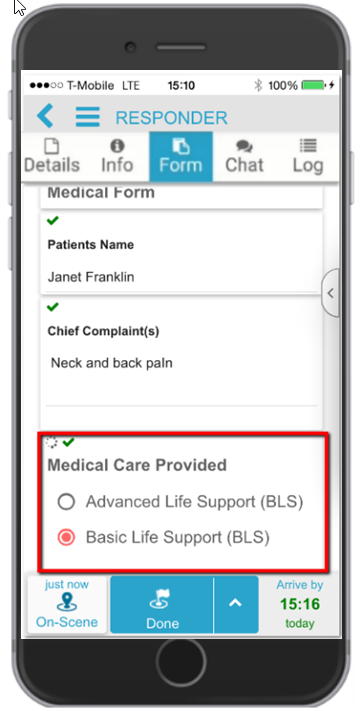
When a mandatory field is completed, the underline is removed and the red icon changes to a green check mark.
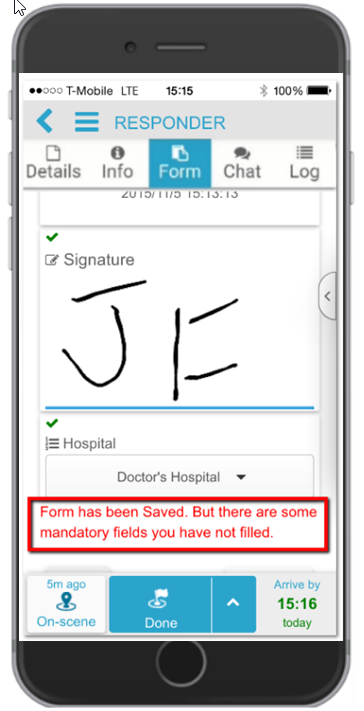
You can save an update form without completing the mandatory fields. If you do this, a notification message is shown confirming the form has been saved, although there are still mandatory fields that have not been completed.
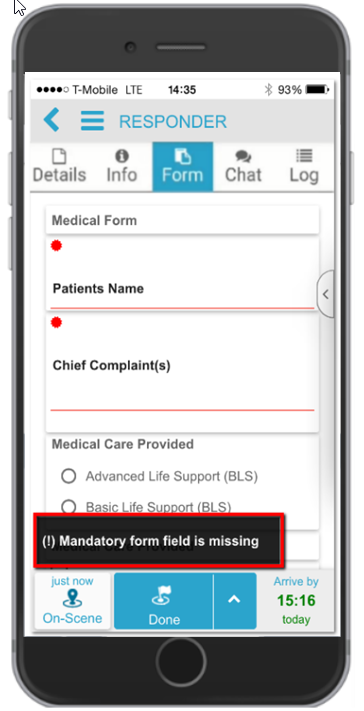
If you tap Done to complete your response to an incident, and the incident form has mandatory fields incomplete, a message appears indicating that there are mandatory fields missing. Under these circumstance your status cannot be updated until you complete all the mandatory fields.
Read Only Forms
The system administrator can create forms with read only fields. You are therefore not able to edit these fields and the information in them is for your information only.
Form Field Types
Forms may comprise the following field types:
- Text boxes and text areas
- Radio buttons
- Check boxes
- Image capture
- Date and time
- Latitude and Longitude
- Timestamp
- Signature
- Dropdown list
Text Box and Text Area
Text boxes and text areas enable you to enter free text responses. These fields may be limited to a predetermined number of characters. Tap the field to enter your response.
Radio Button
Radio buttons enable you to select one response out of predefined list of options. Tap the button to the left of the item you want to choose.
Check Box
Check boxes enable you to select multiple answers from a predefined list of answers. Tap the required check boxes to the left of the field's choices.
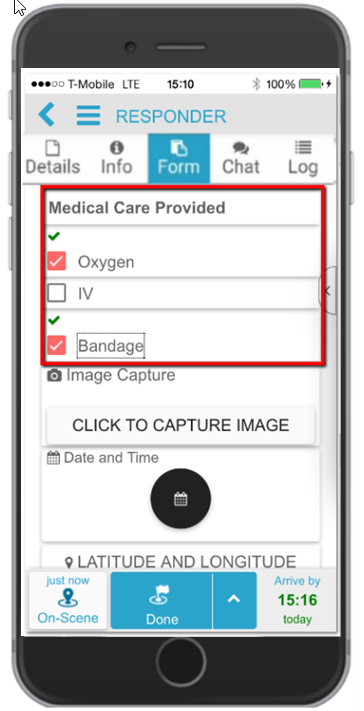
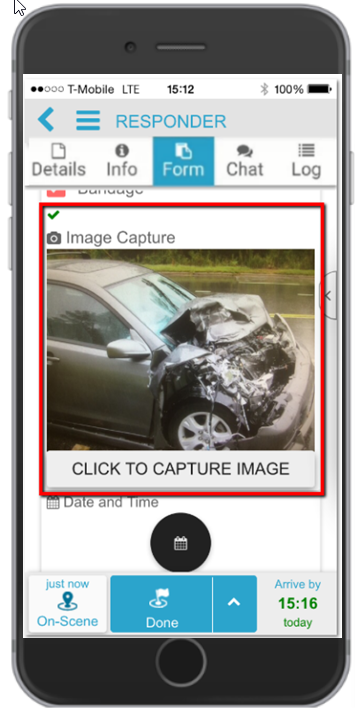
Image Capture
Image capture enables you to take a picture of the incident using your device's camera and share the image with the dispatch operator and other responders in real-time.
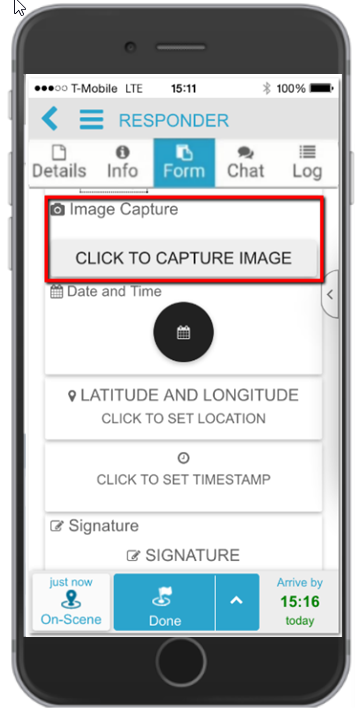
Tap CLICK TO CAPTURE IMAGE to open your device's camera.
Use the device's camera to take a picture.
The Responder app automatically inserts the picture into the form.
Date and Time
Select the calendar icon to add a date and time to the form.
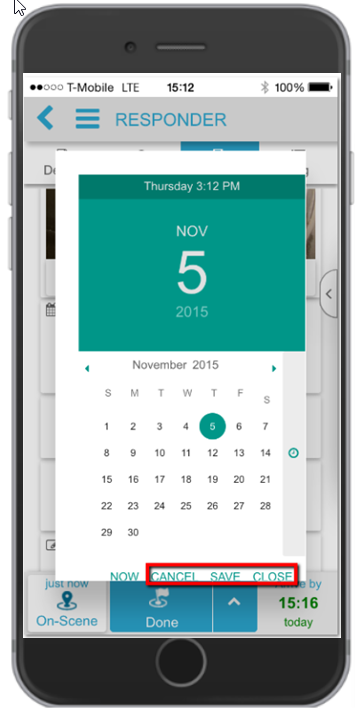
A calendar opens. Select the required date on the calendar. To set the date and time to the current date and time, tap NOW at the bottom of the calendar. To cancel, save, or close the pop-up, select the required option at the bottom of the calendar.
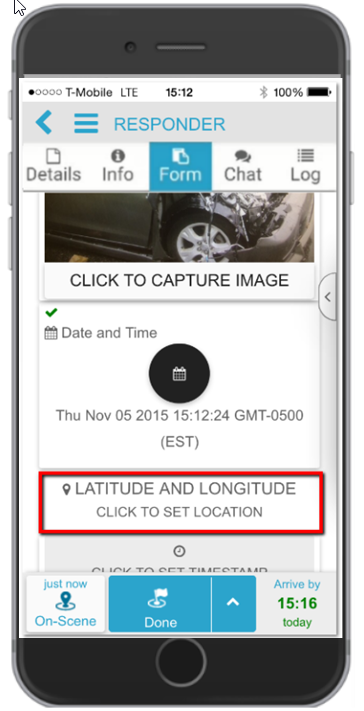
Latitude and Longitude
You can save your current location in the form by tapping CLICK TO SET LOCATION.
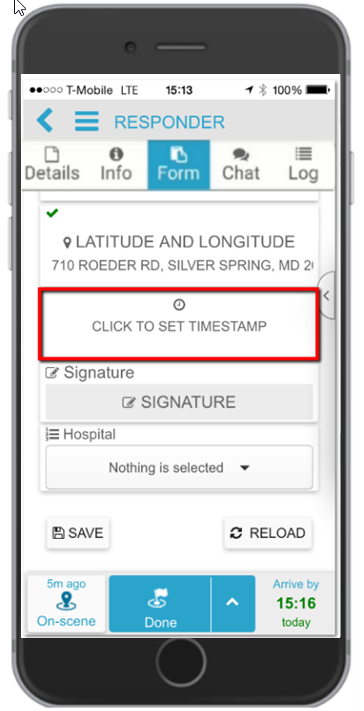
Timestamp
You can save a timestamp to the form, by tapping CLICK TO SET TIME STAMP.
Signature
To save a signature in the form, tap SIGNATURE.
Normally you, as the responder, are required to sign the form, but the form may also require witnesses to sign the form. Use the touch screen to sign the form with your finger or a using a stylus pen.
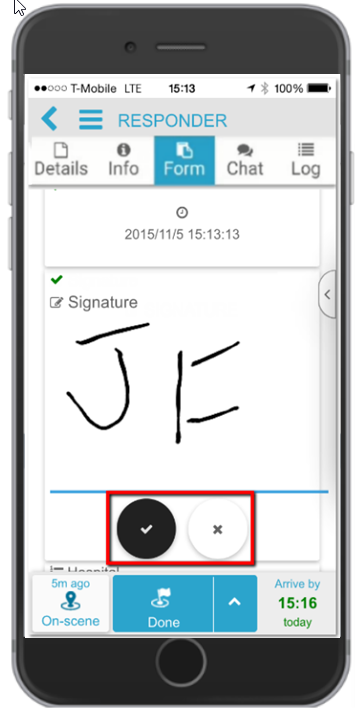
Save the signature by selecting the Check icon.
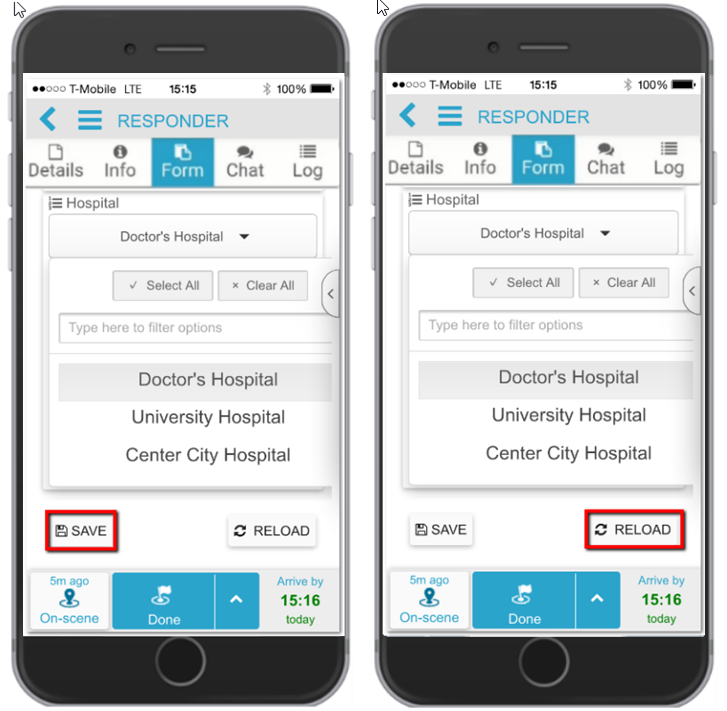
Dropdown List
Open a dropdown list by tapping the lists down arrow. You can select items from the dropdown list in one of the following ways:
- Select all items in the list
- Select items by filtering the list
- Select items by scrolling through
![]()
You can filter the items in the dropdown list by typing your filter criteria in the Filter box. As you type, items that match your filter criteria appear in the list. Select the required item, and tap Done.
Saving and Reloading the Form
Tap SAVE to save the incident form. You can, if required, reload the incident form by tapping RELOAD.