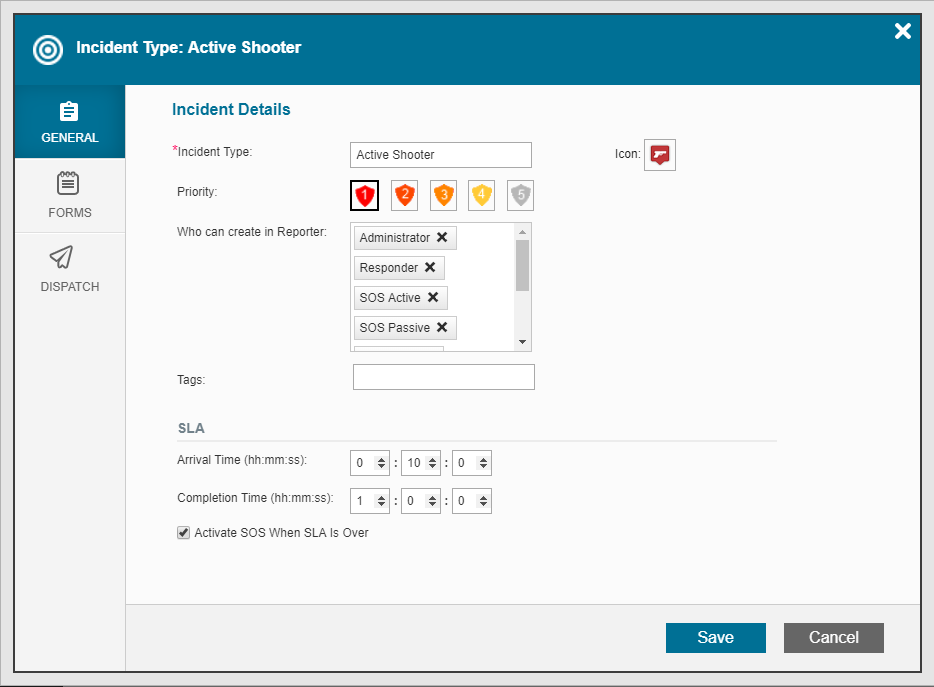
Adding and Modifying Incident Dispatch Rules
Incident types are defined and managed according to predefined rules set by the organization's administrators and other permitted users. Read more about creating incident types.
When you create a new incident type, and to ensure the proper progress of that incident in the system, you must define the Incident rules in the Dispatch tab of the relevant incident type.
To define dispatch rules
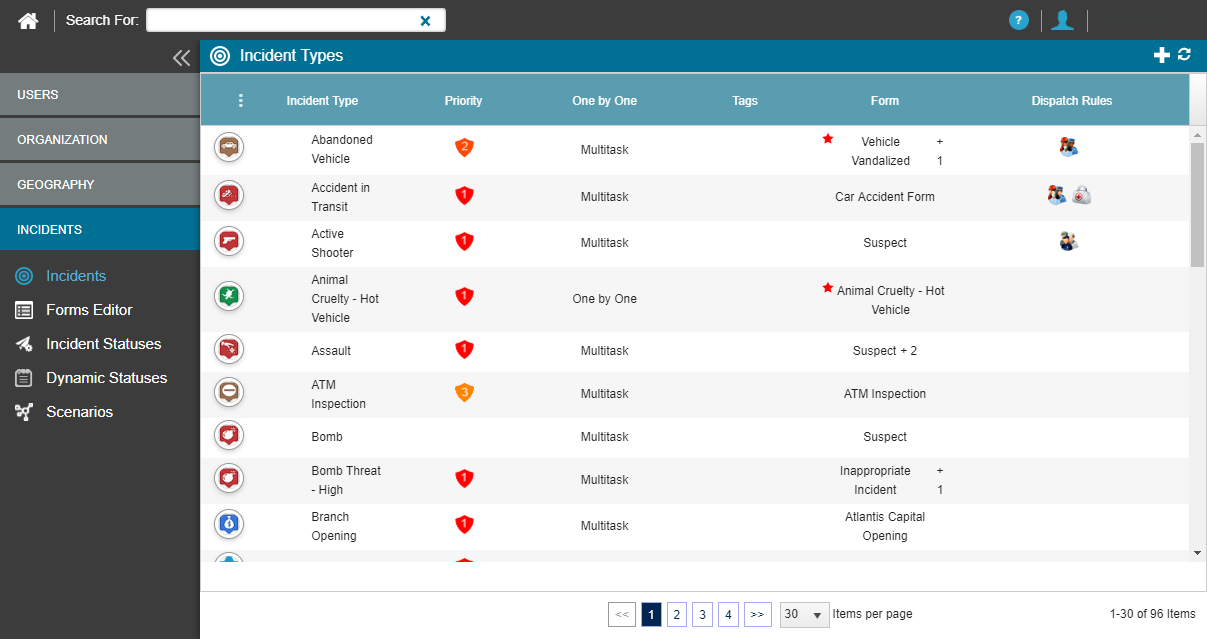
- From the Main screen, select Settings > INCIDENTS, and then select Incidents.
- Hover your cursor over the incident whose dispatch rules you want to modify, and click Edit.
- Modify the Incident Type details, as required.
- Click Save.
- Click Dispatch to add or modify dispatch rules.

The Incident Types panel opens.
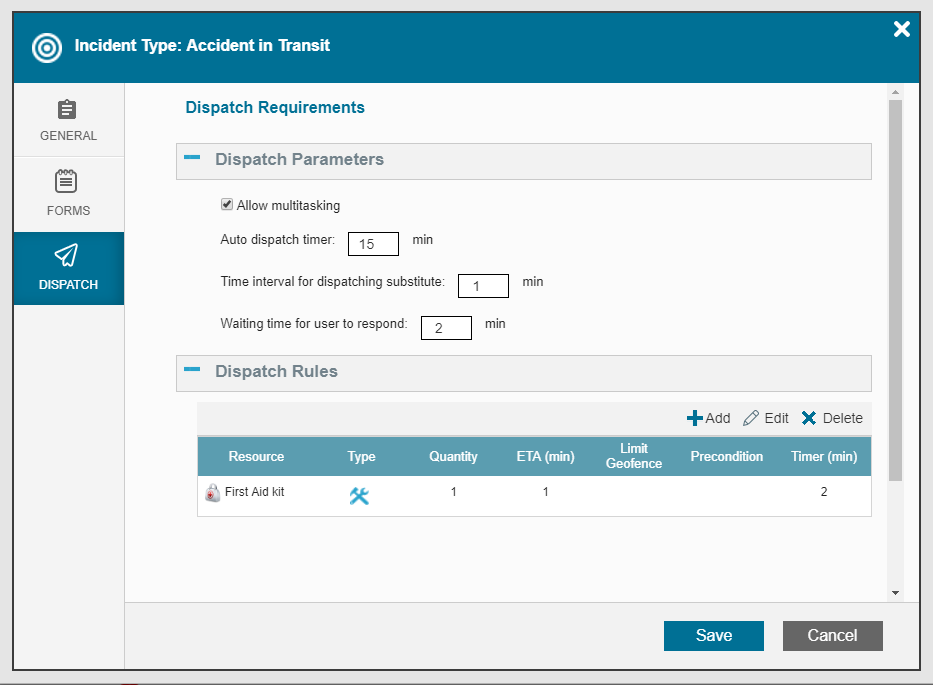
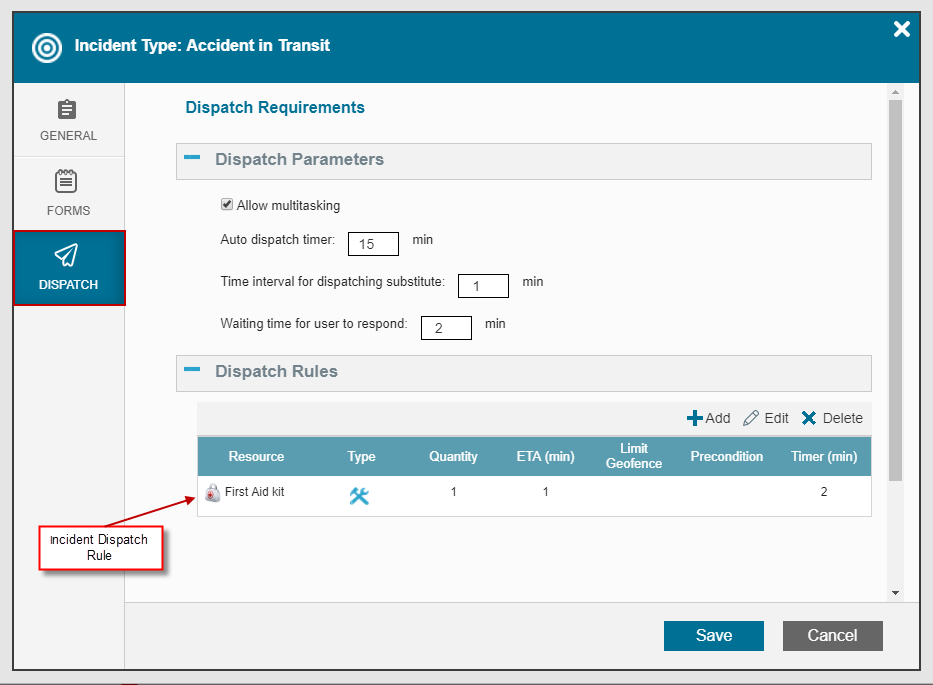
The Dispatch tab has the following areas:
Dispatch Parameters:
- Allow multitasking: If selected, this option enables dispatchers to dispatch responders to other incidents whilst they are responding to the current incident. The current incident is thus considered a multitask incident. If this option is not selected, a responder who accepts the incident does not receive other incidents until they have completed their role in the current incident.
- Auto dispatch timer: Defines the length of time that the incident is considered to be "live" within the system and is the amount of time that the dispatcher has to find available responders to dispatch to the incident.
- Time interval for dispatching substitute: Determines the length of time that must elapse before the system automatically dispatches the next closest available responder. To avoid time lags, this setting must be less than the Waiting time for user to respond.
- Waiting time for user to respond: Determines the length of time that the incident remains in a responders main screen (Active Incidents table), before it moves to the Incidents table.
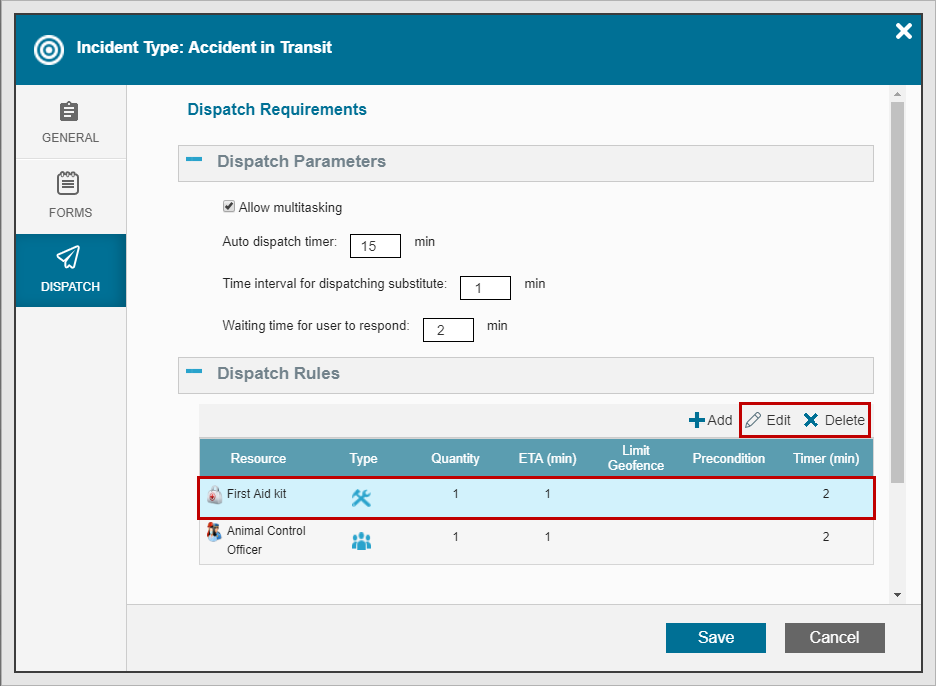
Dispatch Rules:
- Lists the existing incident dispatch rules that you can edit. You can also add new rules or delete existing rules.
Adding New Dispatch Rule
To add a new dispatch rule
-
Click +Add in the Dispatch Rules area.
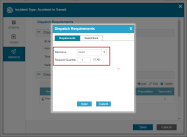
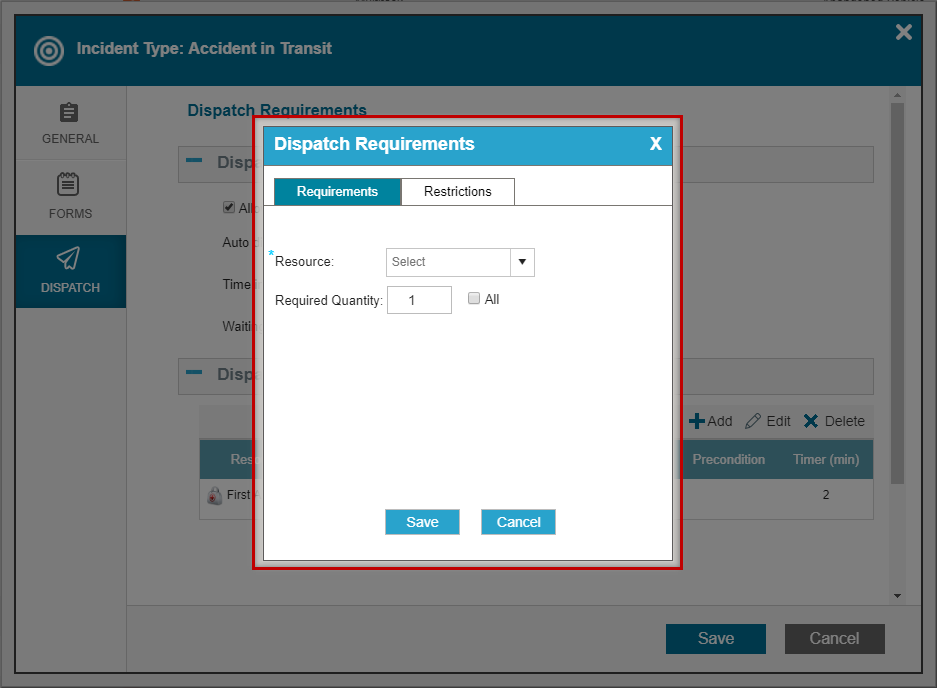
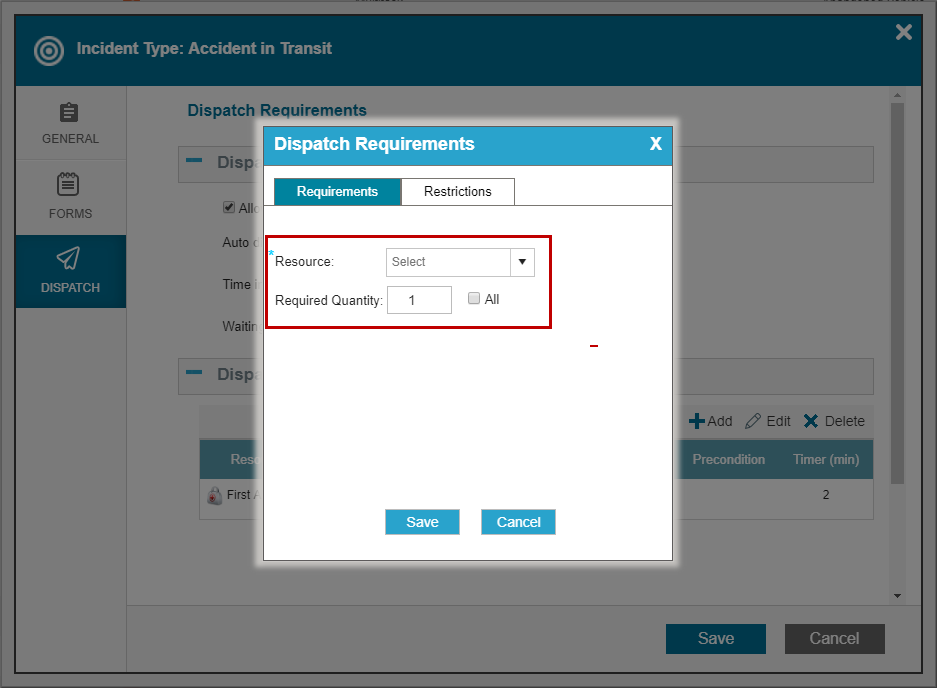
The Dispatch Requirements window opens.

- In the Requirements tab, set the resource category you want to dispatch and the number of resources required:
- Resource: From the Resource dropdown list, select the type of resources you want dispatched to the incident. The resources are based on the groups, roles and equipment you have in your account. It is most important to choose the correct category to ensure that responders who match these rules are associated with the chosen category (member of the group/fulfill a certain role/carry certain equipment), are dispatched to the incident.
A Group/Role/Equipment icon is displayed next to each resource name, to indicate the resource type.
- Required Quantity: Number of resources necessary. You can select from:
- All: Click All to dispatch all the available resources in the selected category.
- Required Quantity: Enter the number of available resources you want dispatched in the selected category.
- Resource: From the Resource dropdown list, select the type of resources you want dispatched to the incident. The resources are based on the groups, roles and equipment you have in your account. It is most important to choose the correct category to ensure that responders who match these rules are associated with the chosen category (member of the group/fulfill a certain role/carry certain equipment), are dispatched to the incident.
- In the Restrictions tab, add the time and a geofence limitations to the dispatch rule:
- In the Timing area, specify if you want the dispatch to start only after a specific time, or after a decision in the incident dynamic status update.
- In the Limitations area, set the ETA and Geofence limitations as follows:
- Limit ETA: Select this option if you want to limit the dispatched responders to include only those who have an Estimated Time of Arrival (ETA) less than or equal to the ETA defined in the dispatch settings for each specific incident. Click Limit ETA and enter the number of minutes a responder's ETA must be in order to be dispatched this specific incident type.
- Limit Geofence: Select this option if you want to limit the dispatched responders to include only those whose User Residence Area (as defined in the User Management window) falls in the geofence in which the incident is located.
- In the Dispatch Requirements window, click Save to save your new rule.
- Click Save in the Incident Type window and add the category to the incident type dispatch rules.
Read more about two-step dispatch.
Editing or Deleting Dispatch Rules
You can also edit or delete the dispatch rules from the Incident type Dispatch tab.
To edit a dispatch rule
- In the DISPATCH tab of the Incident Type module select the rule and click Edit.
- The rule become editable. Make your changes.
- Click Save.
To delete a dispatch rule
- In the DISPATCH tab of the Incident Type module select the rule and click Delete.
- Click Save.