Creating New Scenarios
To create a new scenario
-
From the Main Dispatcher screen, click on
 (Settings icon).
 -
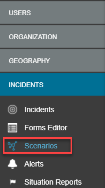
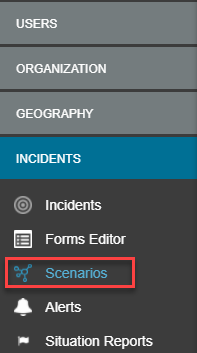
In the Settings Screen select INCIDENTS, and then select Scenarios. The Scenarios table open.
-
Select the + to add a new scenario.

-
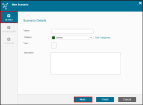
In the DETAILS tab enter a scenario name.
-
Optional: You can select a Category from the dropdown and add a Description for the scenario.
-
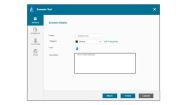
Click the Icon field for the icons window to open, and then select an icon.
-
Click Next.
-
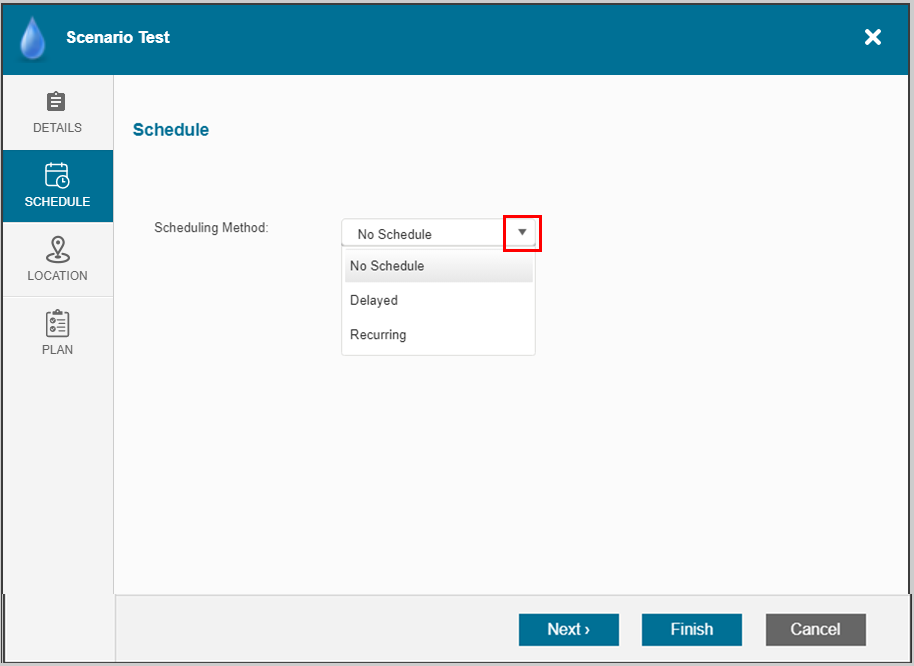
In the SCHEDULE tab, select a Scheduling Method option to select.
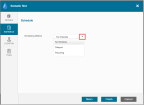
- No Schedule - No specified start time or day for the scenario.
- Delayed - Set a future date for the scenario
- Recurring - Set the start and repeat pattern for the scenario. You can also set it to no end date, on a specified date or after a specified number of occurrences.
- Click Next.
-
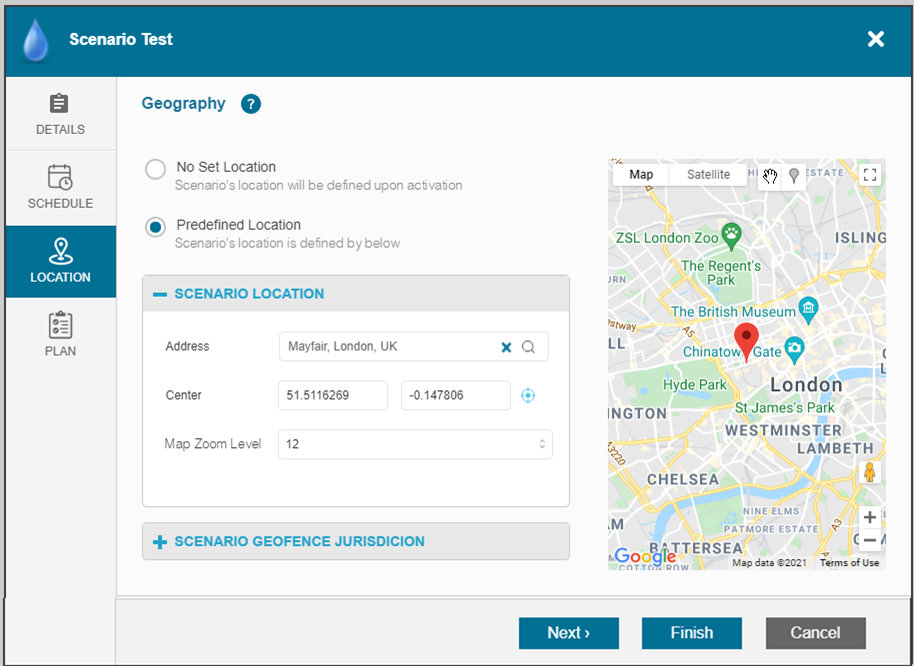
In the LOCATION tab, select the Geography settings.
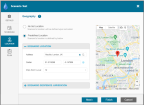
- No Set Location - Scenario's location to be defined upon activation.
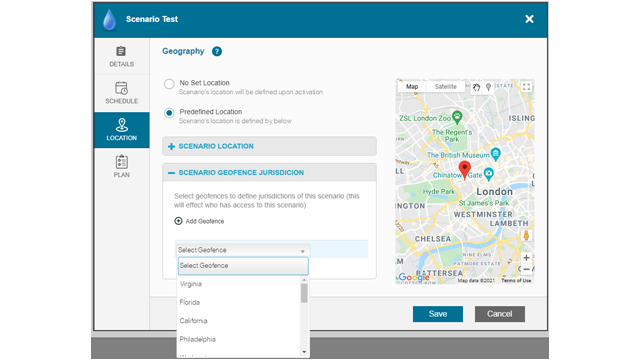
- Predefined Location - Scenario's location is defined and set in the Scenario Location dropdown or the Scenario Geofence Jurisdiction dropdown.

Geofences permit specific jurisdiction related data like resources, incidents, log of activities and alerts to be attributed to an Area of Interest (AOI). Selecting a geofence will determine who has access to the scenario.
- Click Next.
-
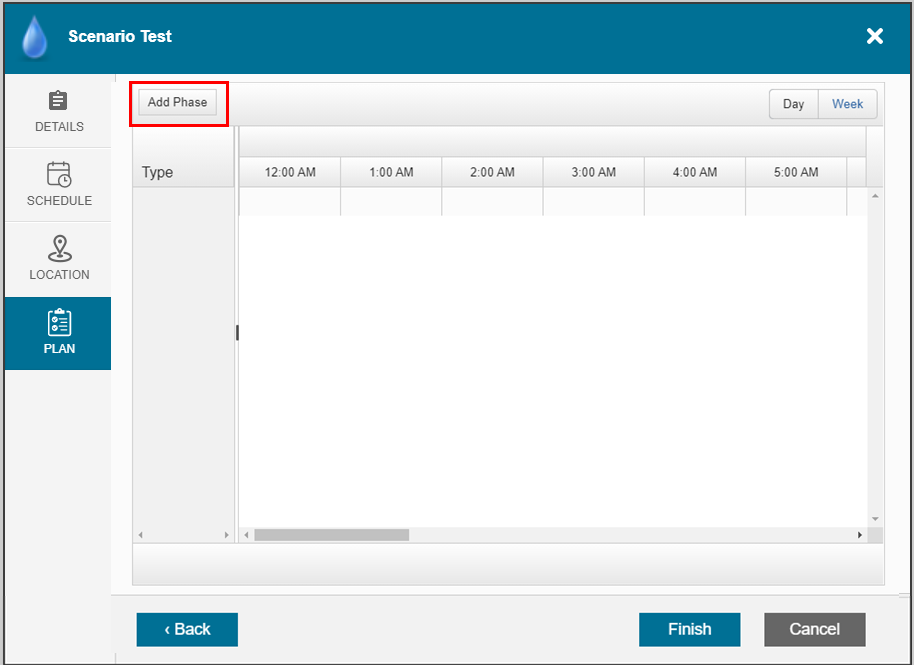
In the PLAN tab, click Add Phase to add a New Phase.
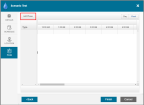
-
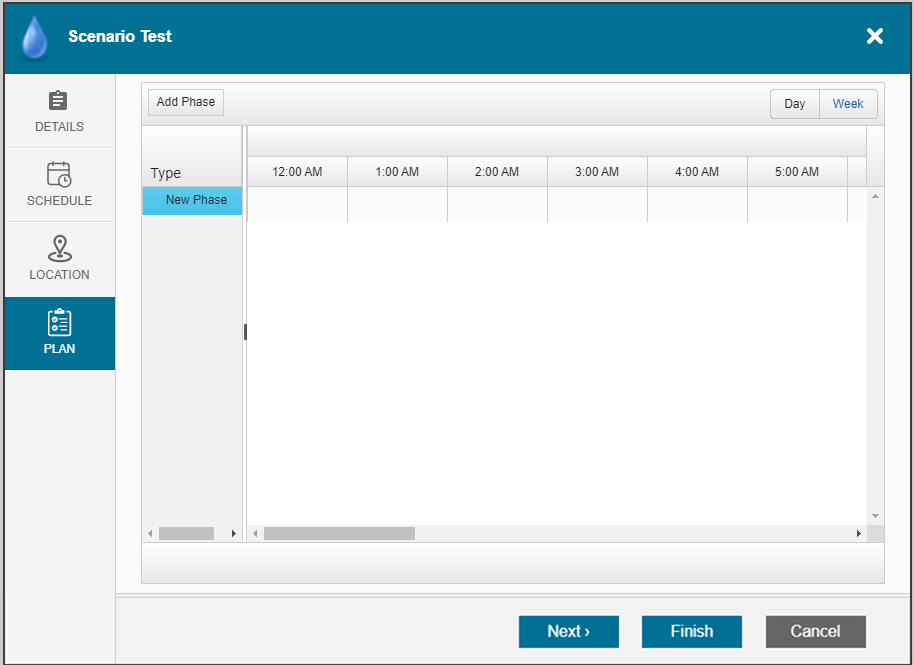
Click New Phase to edit the phase.
The additional buttons of Add Phase, Add Task and Delete Phase appear above the chart area.
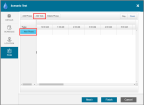
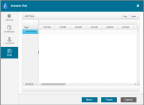
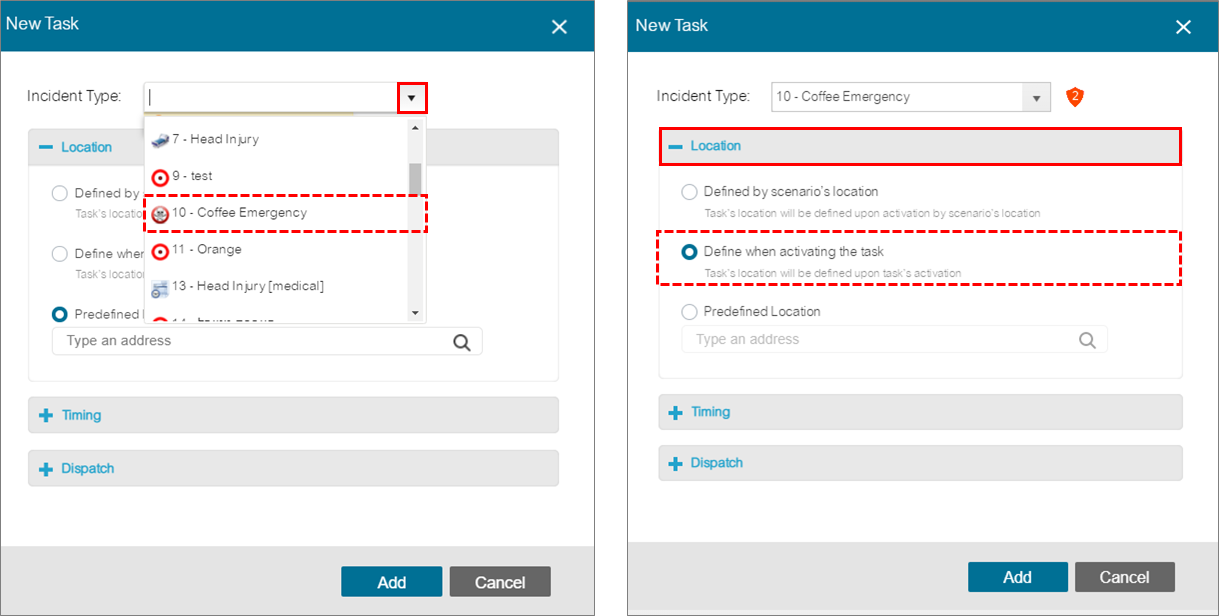
- Click Add Task to add tasks to a phase.
Tasks are defined by their Incident Type, Location, Timing and Dispatch.


- In the New Task window:
- Select the Incident Type from the dropdown list.
- Select the Location from the dropdown list..
-
Set the task's Timing by selecting the phase and specific creation time of the task from the start of the scenario (can be set in either minutes or hours).
-
Select the Dispatch preference.
-
Click Add.
-
Repeat steps 12 through 15 as many times as required to populate your scenario with phases and tasks.
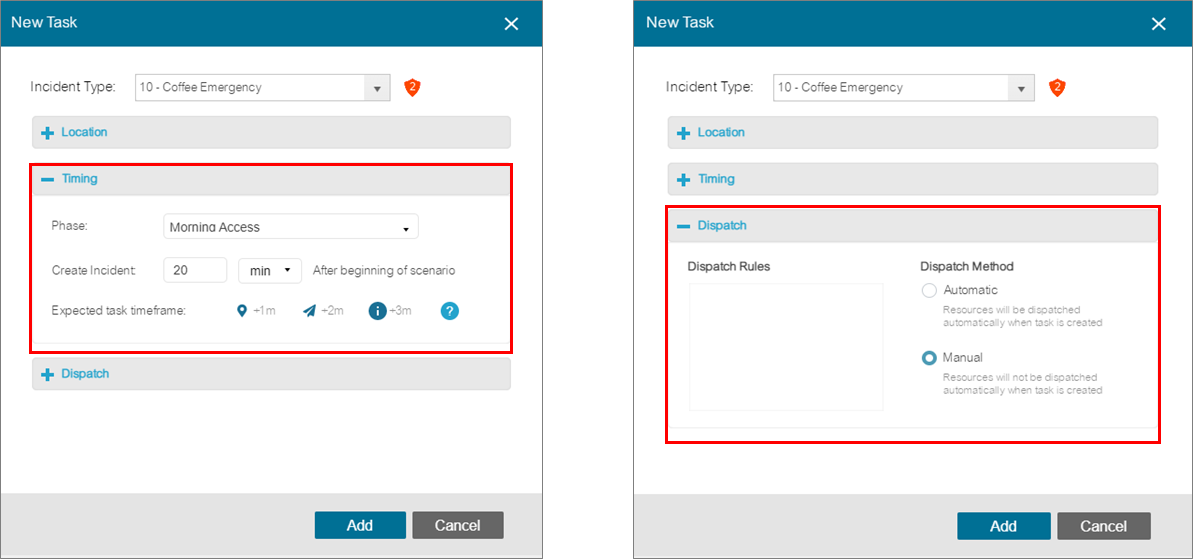
Automatic means that resources are dispatched automatically when a tasks is created within the scenario. Manual requires the operator to dispatch the resources
The PLAN tab displays the total timeline of the scenario.
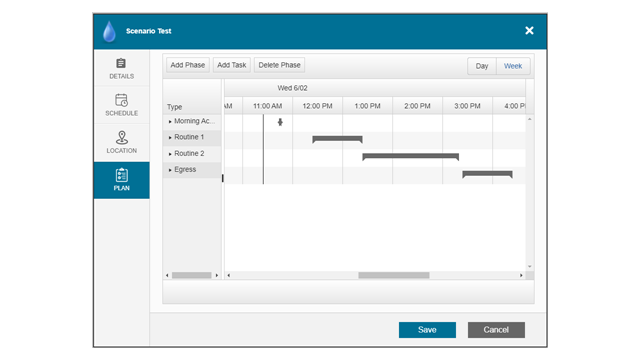
- The dark grey bars show the duration of each phase within the scenario.
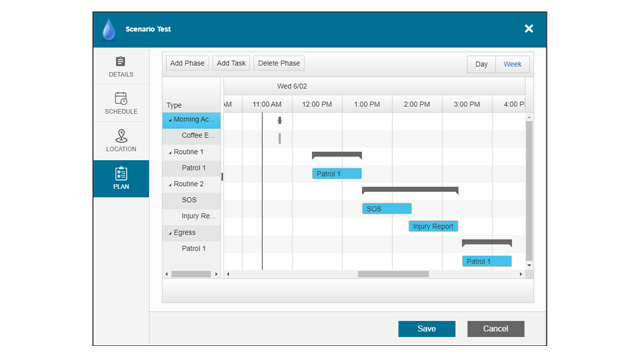
- Clicking the arrow next to the phase name opens the phase to display the blue blocks of individual tasks located within that phase. Their duration and start and times are displayed according to their assigned creation time.
- Click Finish.